


")
Hague Dental are one of the UK’s leading Surgery & Practice Refurbishment teams supporting the whole dental team from initial design and understanding legislation, to planning and build, equipment installation and continued equipment maintenance and servicing.
Below is an article written by Jim Hague (Managing Director) and that was created for the British Dental Practice Managers Association newsletter. We do hope that it proves helpful and please don’t hesitate to call or fill the form on this page to request a ‘no obligation’ design and planning consultation at your practice or site.
Planning a Dental Surgery Refurbishment – from a Practice Managers angle
Pooling together his engineering, design and ergonomics experience, Jim Hague founded Hague Dental Supplies in 1996. The intention was to provide a top quality service, looking after customers with service support, well thought-out achievable designs, full turnkey build projects and comprehensive aftercare.
Here are Jim’s ‘Top Tips’ on how to ensure your surgery refurbishment runs smoothly and is designed with ergonomics in mind for the whole team.
1 – Project Management – yourself or a specialist company?
Whether you are planning just a refurbishment to a single surgery or to the whole practice, there are different ways of going about it – but always include a company capable of full Surgery Design. A poorly designed room will cause inefficiency and reflect badly on your practice.
It is not impossible to achieve a great result whilst project managing the build yourself, but it can be hard work! There are many issues including choosing the right trades people, legislation with commercial buildings and with the Dental industry, logistics for the project and the duration. There will be a lot of learning involved to ensure the target is reached, ask your Surgery Design and Equipment Company to assist you where they can.
It is possible to save good money by managing yourself, and using local tradespeople, but don’t be tempted by cutting necessary corners, though often the initial estimates of costs and duration go well over as many “unknowns” surface. To this extent, ensure you spend good time with your trades people discussing the exact service requirement early on – so that these unknowns are minimised. Delays with one of your trades may cause extra costs in last minute delays to you, or your other trades.
By opting to use a reputable Turn-key company all will be taken care of for you but you can still be involved/ feel a part of your new surgery/ practice. The project management will be done for you ensuring the right surgery layout, equipment, service plans, experienced tradespeople, quality cabinetry, long lasting/ easy maintenance flooring etc.
The initial cost for the full turn-key solution can appear more, but you will be assured that there are contingencies built in so that there will be no unknown costs passed on to you and that all will be completed on time with the minimum disruption to your business. By working with the same well-coordinated team, time and time again, the efficiency improves and this is the way to get the job done well and quickly, on time and on budget.
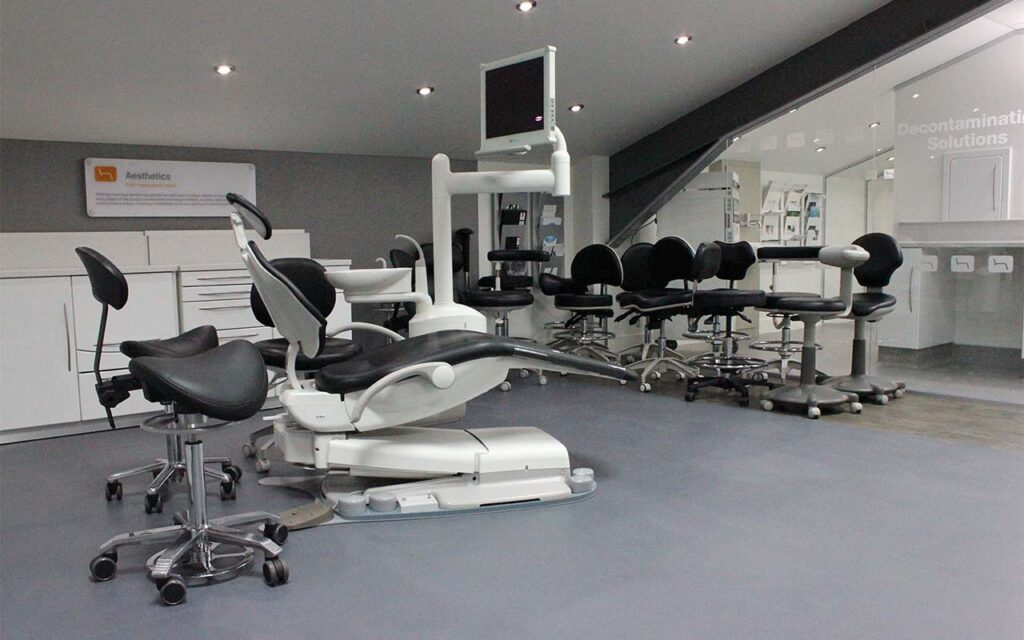
2 – Choosing Equipment and ensuring good Ergonomics, more than just choosing colours
When choosing your surgery layout and equipment, take time to make a prioritised wish list – speak to all of the associated staff – what you all expect from this room – draw on your experience of what has worked about the current room, and what has caused issue. This is usually subjective; don’t assume the Dental supply companies automatically know your list. There are many ways to design a room, but with your list can get the right solution without it costing any more.
Do organise for the relevant staff members to try out the equipment, to discuss their ailments and issues with the designer so that the right format of equipment can be demonstrated, selected and put into practice. Options can be integrated in to the equipment and cabinetry layout to reduce clutter, improve the working environment, increase productivity and look sharp!
 tTo put it simply you may well use this equipment/ sit in this room layout on this chair for forty hours a week, so try it all out first before you buy it, make sure it’s right – it’s your chance to get it right.
3 – Timing – Planning ahead to do it when it suits you
Allow yourself plenty of time to work out the best solution for you/ your practice, as before, but within this time, if you are opting to project manage the refurbishment, work out the proposed itinerary with your dealer to establish a realistic duration for the works – you may be able to tie in this refurbishment with your staff holidays to avoid unnecessary surgery down-time.
If one company manages the whole refurbishment then all the work can be done in less time, sometimes just a few days (it depends on the job in hand). As the whole team know each other well, coordination and timing are made simpler. It varies, but with self-management allow a few more days down-time in order to complete the works.
4 – Looking at legislation – Getting the right materials for the job.
Discuss your project with your chosen equipment supplier; they will be able to advise you on the current legislation and how to include this within your chosen design.
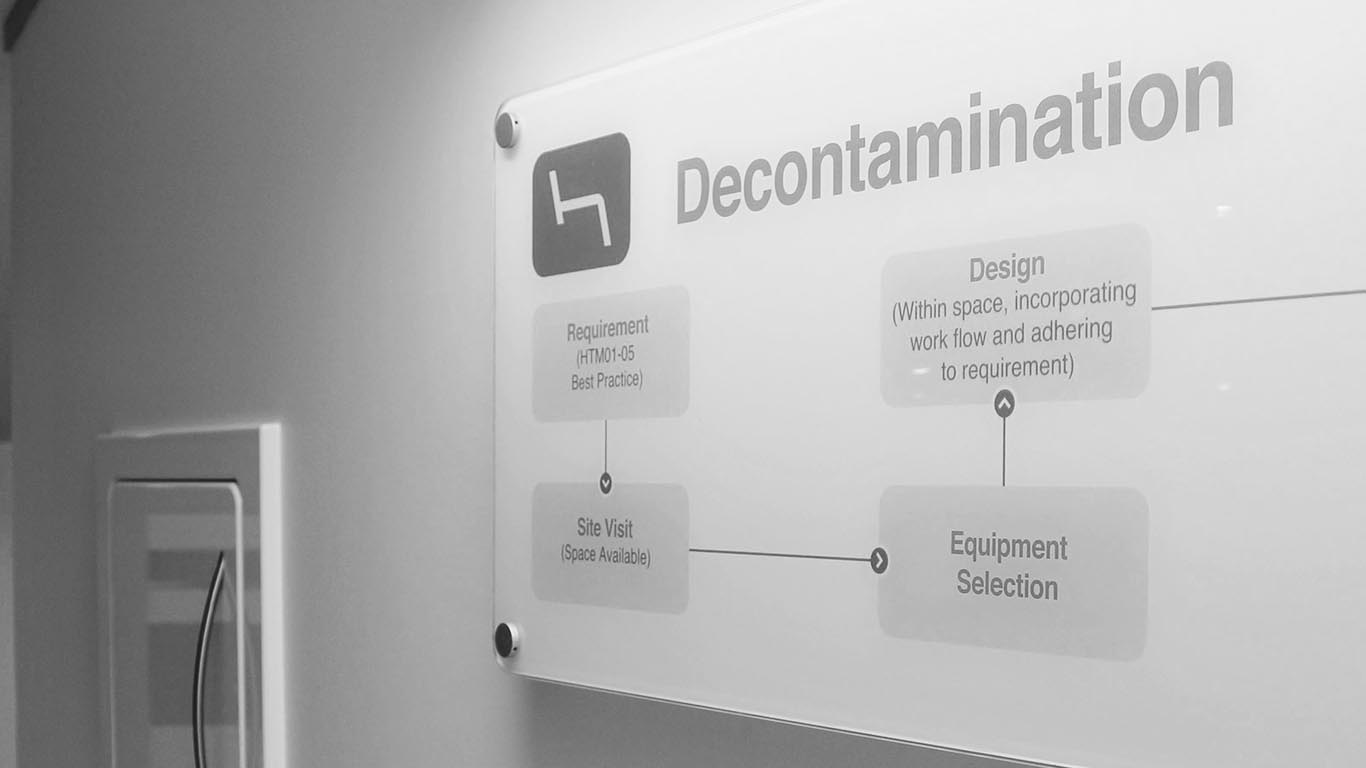
If you are project managing the refurbishment then ensure the chosen materials are suitable for the job and compliant – floors, cabinetry and even walls and ceilings – no grout, unsealed joins.
Remember – bespoke cabinetry is usually more suitable than off-the-shelf type as it will create the right housing for your needs, create space by avoiding wasteful empty areas, and be of a Medical grade (easily cleaned and a higher level of moisture resistant properties).
Medical grade flooring will have superior cleaning and slip resistant properties, can also lessen the risk of marking from your stools and can require less maintenance. The sub floor is equally important, using ply rather than hard wood on top of floor boards, and levelling screed on top of concrete floors. Do allow additional drying time for back-filled channels to dry, as well as the applied screed, this can be a good time for decoration.
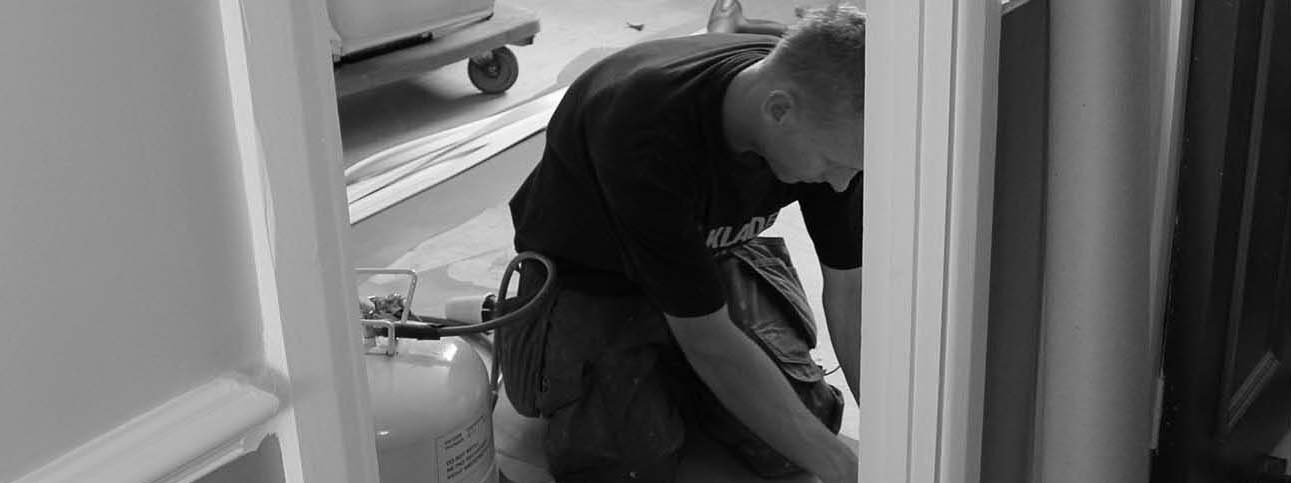
20 stage Itinerary for a single surgery project:
- Initial site meeting – to introduce those involved
- Pull out the old equipment
- Pull out the old cabinetry and flooring
- Remove any unwanted layers off the wall
- Plaster walls/ ceiling if necessary
- Raise floorboards or channel flooring for services run
- Run new services – electrics, plumbing and pneumatics
- Services inspection meeting – to ensure all present and correct
- Floorboards back down or back fill the channel
- Decoration
- Room lighting
- Sub layer flooring
- Final flooring
- Cabinetry installation
- 2nd fix of sinks and sockets etc
- Equipment installation
- Hand over meeting/ initial training
- Final decoration
- Meeting with builder for final snagging
- 1-2 weeks after handover for further product and maintenance training
Hague Dental offer one to one appointment and group classes in surgery design and refurbishment at their NEW Dental Practice Design Centre, near Gatwick. Call 0800 298 to find out more.
