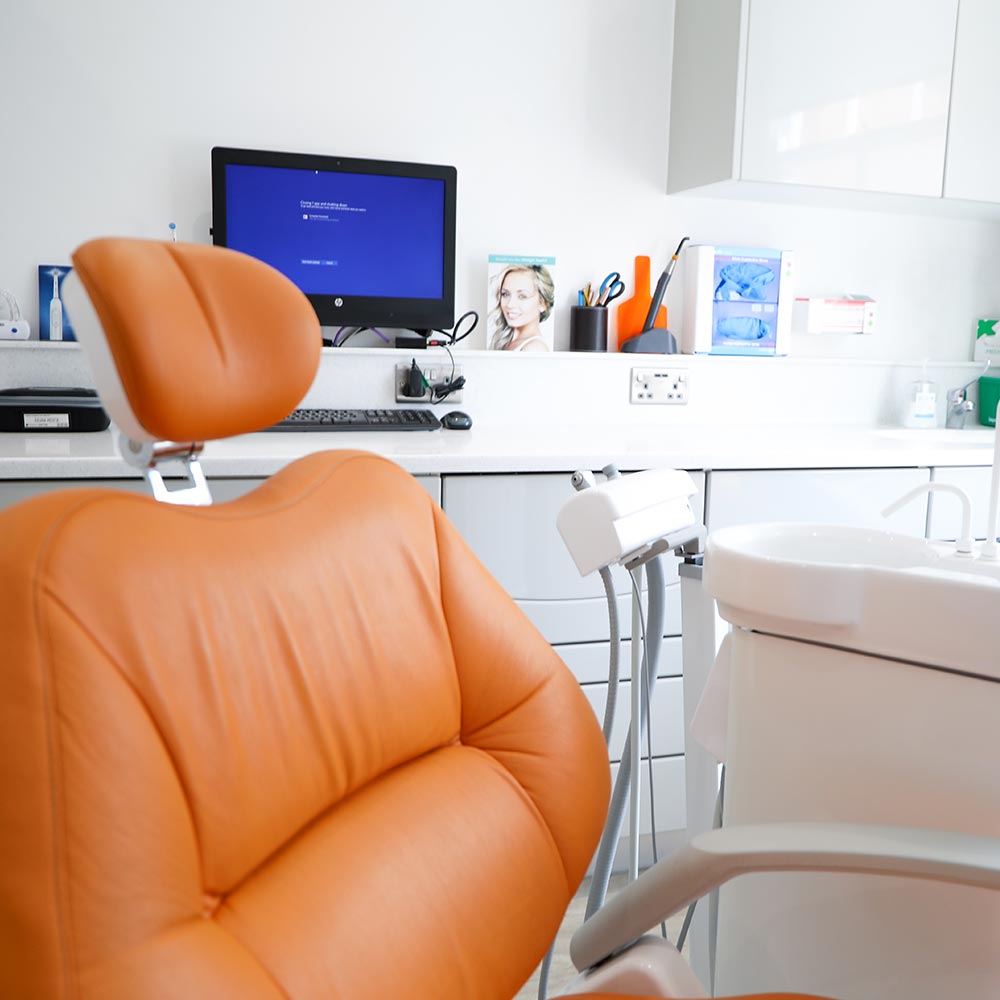
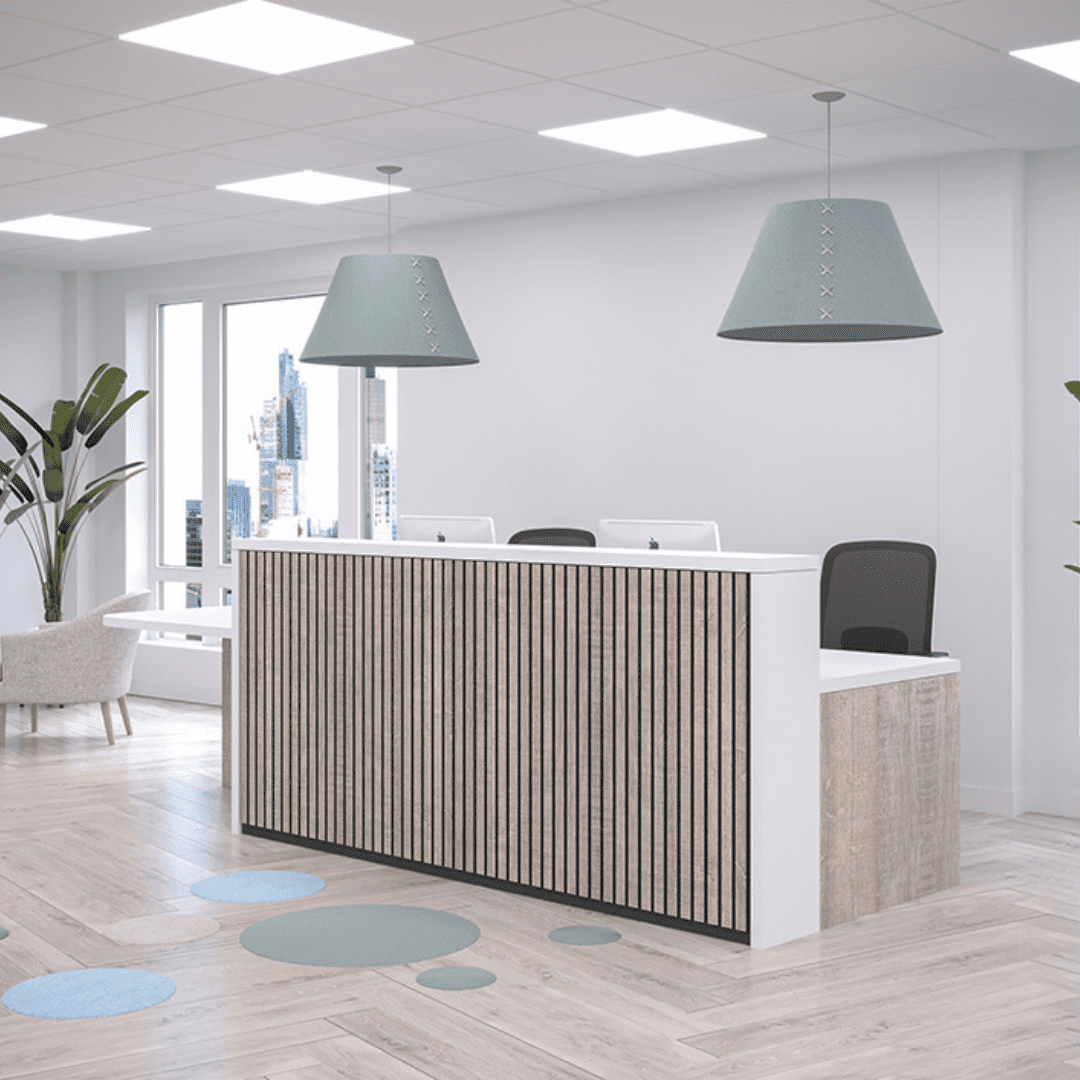
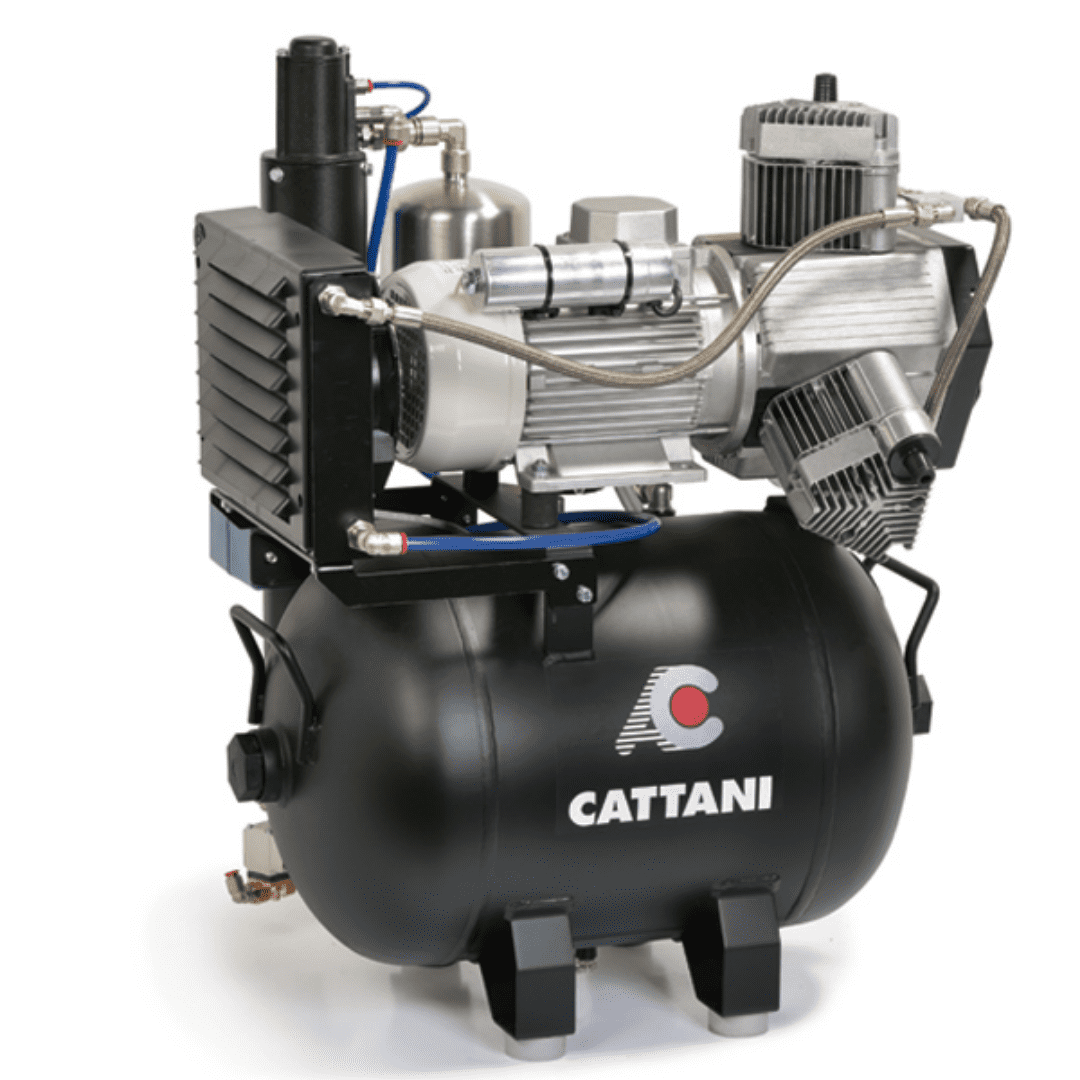
Decontamination Room Design and Refurbishment

  • Dental decontamination design
  • dental decontamination room
  • dental decontamination room
  • dental decontamination room
  • dental decontamination room design
  • Developing a Squat
  • dental decontamination room design
  • dental decontamination room design

Sterilisation Areas made Easy

The Decontamination Room is so important, right in the heart of the dental practice; it is crucial that any dedicated space for sterilisation flows well, supporting the surgeries and allowing them to run efficiently.

Patients deserve to be treated in a safe and clean environment with consistent standards of care every time and in order to do this, practices in line with HTM01-05 and CQC requirements, are expected to 'achieve essential', if not 'best practice' requirements. It doesn't need to be a large room - the key is giving separate consideration to your clean and dirty areas.

HTM01-05 dictates the processes, the order, and ventilation, etc – so it should be straightforward to design, right? Not usually - often the challenges are limited space and/or budget, among others. Working within a limited space or spaces can still work with meticulous design, understanding how the practice intends to use the area, and how their surgeries function – the solution may involve utilising different areas for zoning and storage – bespoke solutions will provide a compliant solution where off the shelf type may not, plus naturally the quality will be much better.

Jim 150x150
'Spending money on surgeries, Treatment Coordinator office (TCO), reception, branding, and marketing is far easier to justify as these areas create revenue – there can be a reluctance to spend good money on a decontamination room as it’s difficult to justify. However, we have often created showpiece decontamination zones for more modern practices that patients can see and feel reassured with (in the same tone as a smart restaurant showcasing their kitchen). Therefore, we believe it important that the design of the decontamination room is such so that it helps all the surgeries to run efficiently, and to make the team feel valued and the practice compliant.'
Jim Hague, Sales Director

Develop a space in line with HTM 01-05

Decontamination of instruments (also known as reprocessing) is a complex process that involves several stages, including cleaning, disinfection, inspection, and a sterilisation step. Our team comes together to suggest the most efficient and most cost-effective solution for you. We ensure we understand your requirements, apply our knowledge and experience, and work with you to create the best design for your decontamination suite possible. 

Further support and clarification on the legislation can be found on this download for the Decontamination Health Technical Memorandum 01-05: Decontamination in primary care dental practices.

Our team of designers and equipment specialists at Hague Dental have developed new rooms and adapted old ones since the change in the law in 2009. A significant change is that all brand new squat practices are required to have a separate room for sterilisation purposes which can massively effect the layout of any new build. 

There are ten key elements we consider in Dental Decontamination Room Design:

Location

The position of the decontamination room in the practice is essential. Ideally locate your new room close to the surgeries. Locating your new room in a basement or on a higher floor to the treatment rooms increases the demand on your team. 

Flow of Work

Regardless of the choice of location used for the reprocessing facilities, a one-way dirty-to-clean workflow should be maintained so that used instruments are at a lower risk of coming into contact with decontaminated instruments. A 'double room' design can work perfectly given the space.

Cabinetry

Spending a little more money on quality medical grade cabinetry is highly recommended for your sterilisation room. The high humidity levels from equipment in the room demands a robust piece of furniture.

Task Lighting

The usual ambient ceiling lights are not sufficient for the inspection of instruments. An inspection lamp located in the dirty area is essential. Consider specialist wall lighting for your room as this provides a concentrated soft light.

Ventilation

Ventilation and air quality are equally important. Workplaces need an adequate supply of fresh air, achieved through natural ventilation or extraction units. Airflow should move from clean to dirty areas.


Flooring

Select a non-slip impermeable option for your floor. Ensure your flooring is 'capped and coved' to avoid the build up of contaminants in any joins to enable easy cleaning. Flooring options are vast - popular options are wood look or stone.

Build & Services

Ensure your new or adapted room has the correct services for the equipment, sinks, ventilation etc that you are looking to have installed. This includes the position of plumbing, electrics, and airlines. Work closely with your engineering team to get this right first time.

Equipment Selection

Select the equipment you'll be using in that room ahead of the design. Ensure there is adequate space and worktop area for autoclaves, ultrasonic bath, and handpiece maintenance unit. Consider a underbench space for a washer disinfector, though this is a grey legislative area. 

Storage

Sufficient storage for your instruments is sometimes overlooked. Consider in advance the location of any cupboards and the set up of these for access and ease of use. Organised storage can be done in a number of ways, including tubs which are ideal for specialist treatments.

Service Contract

With such vital dental equipment installed in your room, spread the cost of your annual servicing with a Hague Dental Service Contract. Decontamination equipment can prove unreliable if not maintained and serviced regularly. 

Case Studies

Phillip Bolton

Phillip Bolton

Dental Decontamination Room Design

Claire Morrice

Claire Morrice

Squat Practice Development

Victor Wiffen

Victor Wiffen

Dental Decontamination Room Design

Neel Jaiswal

Neel Jaiswal

Squat Practice Development

Smita Mehra

Smita Mehra

Squat Practice Development

Aoife Boland

Aoife Boland

Dental Surgery Design

Uma Madhav

Uma Madhav

Squat Practice Development

Harpreet Khambay

Harpreet Khambay

Dental Surgery Design

Our Step-by-Step Process

  • Step 1: Initial consultation at your practice

    When we are approached to design and build new sterilisation rooms, we ensure we take into account not only where you think the new room might be located, but also the space, surgeries, and areas around the room. We will survey the space before drawing up your 2D CAD concepts.

  • Step 2: Space is always limited

    After surveying the room we will take into account the size of room you will require given the size of the practice. More surgeries require a greater space to house more equipment. However we understand also the limitations of space in some practices.

  • Step 3: Bespoke and flexible solutions

    Since 1996 we have provided highly flexible “bespoke” solutions to a wide range of projects. We understand that every project requires different skill sets. For example, we can provide specialist builders or we are also happy to work alongside your own.

  • Step 4: A highly experienced and diverse team

    Working with our team of specialists including CAD designers, equipment experts, specialists builders, and dental engineers ensures you have the right experienced team for your project. And rest assured - your project will tick all the legislation boxes. 

  • Step 6: Visit the largest and most extensive equipment showroom in the UK

    Visiting our showroom near Gatwick can help the process feel a little less daunting. Experience our decontamination room set up and compare world-leading equipment brands including W&H and NSK all under one roof to help you decide on the best solutions for your practice.

  • Step 7: On time and within budget

    Our Project Management Service ensures your upcoming project comes in on time and in budget. Our highly experienced friendly team members work with you and communicate clearly at every stage of the refurbishment.

  • Step 9: Handover and training for you and your team

    Our team will ensure that you are familiar and confident with your new equipment. We also ensure that you understand the maintenance requirements.

  • Step 8: We’re not satisfied until you are

    We will work tirelessly with you until we have a fully thought through plan that meets your specific list of needs, both now and in the future. We work hard to develop a trusted relationship with you that supports you and your practice for the long term.

Request a copy of our Hague Dental Project Showcase

Enter your details to get your copy of our digital booklet featuring over 20 different dental practice projects for your inspiration.

case studies booklet